Subversion install for Eclipse Helios
Andrew Alba • December 22, 2010
tutorialSo I recently upgraded from Galileo to Helios and although I tried to use the upgrade instructions online, I had to many dependency issues and had to do a fresh install.
I decided to start from scratch and removed the eclipse folder, deleted all cached and preference data and wiped out the workspace/.metadata.
I downloaded the Eclipse IDE for Java Developers (because the Classic version does not have the new Eclipse Marketplace) and started to reinstall some of the most useful plugins.
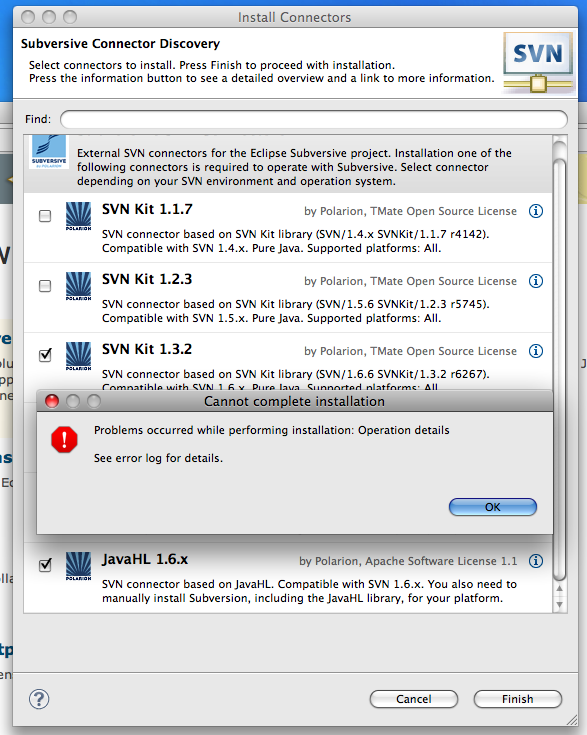
This is when I ran into the issue with the Subversive Connector. I went to Help > Install New Software and pulled up the 'Helios – http://download.eclpse.org/releases/helios'. I opened up the Collaboration tree and scrolled down and chose the 'Subversive SVN Team Provider' and installed it. After the install you will get a prompt to install the connector (your choice of SVNKit or JavaHL) with the Subversive Connector Discovery window. I chose the connectors I wanted, but when I tried to install, I got an error. The error 'Cannot complete installation – Problems occurred while performing installation: Operation details'

I viewed the error log and was able to find there was a missing dependency. After searching the web using Google, I was able to find a solution.
In order to resolve this you need to enable a subversive repository. Go to Help > Install New Software and then click the "Available Software Sites” link. In the window, you will get a list of available software. Scroll down the list and look for http://download.eclipse.org/technology/subversive/0.7/update-site/. Select it and then click the 'Enable' button and the click 'OK'.

Back on the install window, click into the 'Work with:' field and either type in or select the http://download.eclipse.org/technology/subversive/0.7/update-site/. Here you will find a list of options for install. I unchecked any 'Optional' choices and then installed (Next > Next > 'I Accept…' > Finish).

After the Eclipse IDE installs, choose 'Restart Now'. For me the Subversive Connector Discovery window came right back up. If it doesn't for you, try to create a new SVN Project. I chose my Subversive SVN connectors and clicked 'Finish' and presto the installation continues without error.
I hope this is helpful to anyone with a fresh install.